Fotophire Editing Toolkit
Your Complete Photo Editing Toolkit
People often think that having the most expensive photography equipment is a prerequisite for creating a beautiful photograph. Having the latest, priciest photo camera bodies and lenses is less important than having the right equipment for the task at hand.
Bokeh is just one among many photographic techniques that require you to have the right technical equipment, but the equipment is just the tip of the iceberg. This beautiful effect creates the best visual impact when it is skillfully used to set the mood of an image. In case you wanted to learn more about Bokeh, but didn't know how you've come to the right place because in this article we will show you how to create this photo effect with a camera or in a photo editing software.
Bokeh is a particular kind of blur on a photographic image, therefore it comes as no surprise that the effect got its name from a Japanese word for the out of focus areas of photographic images. Most lenses for DSLR and analog cameras allow you to accentuate the difference between a foreground and the background by making the objects in the foreground sharp or in focus, while the rest of the image is blurry. When the blur is combined with the sources of light in the background the result looks like a smooth round spot of color. So basically, the Bokeh effect can be created by keeping out of focus the sources of light you have in your shot.
Although there is no rule that says you can't use this effect whenever you want, and despite the fact that Bokeh will probably make each and every photo look better, some genres of photography are simply better suited for this type of effect than others.
Long Exposure Photography - Long exposures are often used by night, so this genre of photography is often referred to as night photography. When shooting night scenes it is often impossible to avoid the lights in the background, so making sure that the lights are out of focus can help you conceal the sources of light in your shot.
Portrait Photography - The background is one of the most important elements of a portrait because it defines the context of a photo. The Bokeh effect will create an almost abstract background which works perfectly with realistic figures depicted in the foreground.
Macro Photography - The shallow depth of field is often used in this genre of photography, in order to highlight the miniscule subject of a picture. If you can add a natural or artificial source of light in the background, your photos will seem almost magical.
Choosing the Right Lens: The best lenses to use are either telephoto lenses or prime lenses with huge apertures, in the vicinity of f1.4 or f1.8. However, nearly all lenses can create some kind of Bokeh, so even if the aperture is not the strong suit of the lens you're using you'll still be able to create the effect.
Adjust the Camera Settings: The controls on your camera should be in the Manual mode, or in the Aperture mode, that is most often marked with an A on the camera mode wheel. Setting the aperture at values such as f1.4 will create an extremely shallow depth of field and it will allow you to keep in focus only the objects that are the nearest to the lens.
Separate the subject from the background: In order to create as much space between your subject and the background you should get as close to the subject as you possibly can. Telephoto lenses are particularly useful in situations when approaching a subject is simply not an option. Setting the in-focus areas of the frame manually is usually a good idea, because the autofocus feature, doesn't allow you to choose where you want to place the focus because sometimes the subject of your photo can also be in the background.
Finding ways to separate the subject from the background will provide you with better Bokeh effects, and the general rule of thumb says that you should create as much distance as you possibly can between the subject and the background. However, the decision which area of the shot will be out of focus depends on the context and a number of different factors, which means that you should create the Bokeh effect on each photo you take in a different manner.

Photographers, that don't have the skill or the time to create the Bokeh effect with a camera, can rely on the support of the Wondershare Fotophire photo editing software. The Wondershare's photo editor enables its users to add the Bokeh effects to their images in just a few simple steps. Here's how you can add the Bokeh effect in Fotophire.
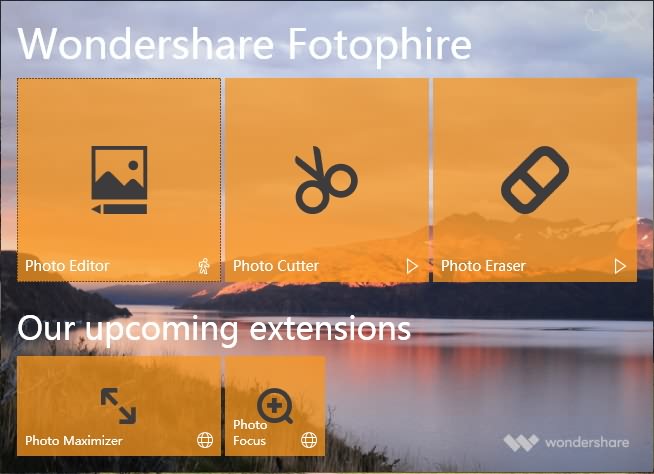
Launch the software: Click on the Fotophire's desktop icon, and once the welcome window appears on your screen click on the Photo Editor icon. The software will offer you to select the picture you want to edit, so you can proceed to choose a picture from a folder on your computer.
Add the Bokeh effect to the photo: Now that your photo is displayed in the editor, click on the textures tab icon, located in the upper right corner of the screen. Afterward, click on the Bokeh tab and select the Bokeh effect you want to apply to your photo. You can adjust the intensity of the effect on the Opacity slider and you can select the Blend mode that enhances your photo even further. Click on the Extend to image size checkbox in order to apply the effect over the entire picture and if you want, you can save all the changes you've made as a Preset if you'd like to use the same effect again.

Image source: Internet
Save The Photo: The Adjustments menu can be used to make further corrections of the color values in the photo once the Bokeh effect is applied. Once you are happy with the results simply click on the Save icon to save the picture to your computer, or the Share icon if you want to share the photo to Facebook directly from the Wondershare's photo editor.

You can also enhance your photos with more effects such as Lomo, vintage, portrait, cinema, and photography effects. You can also turn your color image into black and white . What’s more, you can add frames or text to create a more unique photo with more memory.
