Fotophire Editing Toolkit
Your Complete Photo Editing Toolkit
Our cameras have their limits, even if you have the best lenses money can buy and an expensive camera the quality of the pictures you are creating can be improved in the post-production process. The Textures are a tool that can help make your photos more visually attractive and in this article, we will show you how to enhance your photos with different textures with Wondershare Fotophire .
You may have heard about adding text or frames to photos, but why and how add textures? Well, which texture you are going to use depends on the photo you are editing, so blindly applying textures to all of your photos is usually a terrible idea. A Texture effect can fit nicely to a portrait or to just a segment of a landscape photo.
Keep in mind that your final result should be a unique image, not a picture to which you bluntly applied a ton of effects. Let's have a look at the steps you'll need to take in order to add a texture effect to your photo in Fotophire.
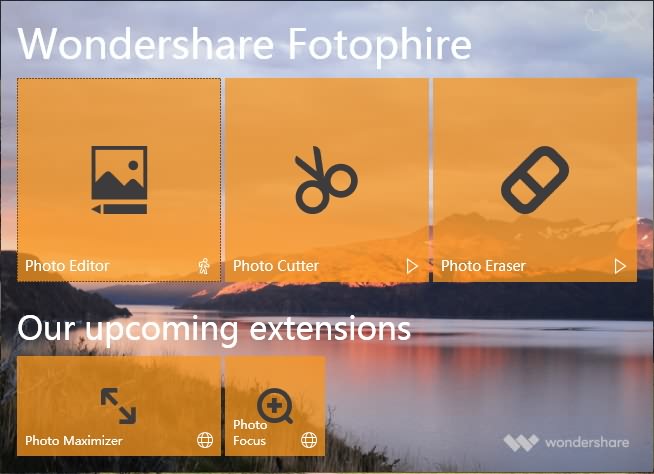
Start the Wondershare's Fotophire photo editing software and in the welcome screen, click on the Photo Editor. Before the editor opens, you will be asked which picture you want to edit, so just click on the Open feature and locate the photo on your hard disc.

Once the photo is displayed in the Fotophire photo editor, you'll be able to see a menu on the right side of your screen. Clicking on the Textures icon, which looks like two overlapping squares will enable you to see different types of textures this software provides.

Grain, Material or Film are just a few texture categories you can use to enhance the photos, but you should choose the texture that creates the exact effect you want. Click on any of texture categories to see individual texture effects.

Upon selecting a texture you want to apply to your photo, you'll be able to adjust the setting of the effect in case you would like to make the texture less obvious. You can adjust the opacity or select the Blend Mode for each texture featured in the editor.
Click on the Extend to image size checkbox to ensure that the texture is applied over the entire photo and if you like the new effect you created, you can save it by clicking on the Save settings as a new effect button.
New presets can be saved as Standard Complete or Partial, choose the option that you find the most helpful and click on the Create button.


The Fotophire Photo Editor lets you share your enhanced photos to Facebook directly from the software, while you can also save a photo on your hard drive by clicking on the Save icon located on the editor's toolbar.
Applying textures to photos in Fotophire is a simple and fun task, although if you have absolutely no previous photo editing experience, you might find the task overwhelming at first. The Wondershare's photo editing software makes adding textures to photos easy, but learning how to make your photos look like a work of art will take some practice.
