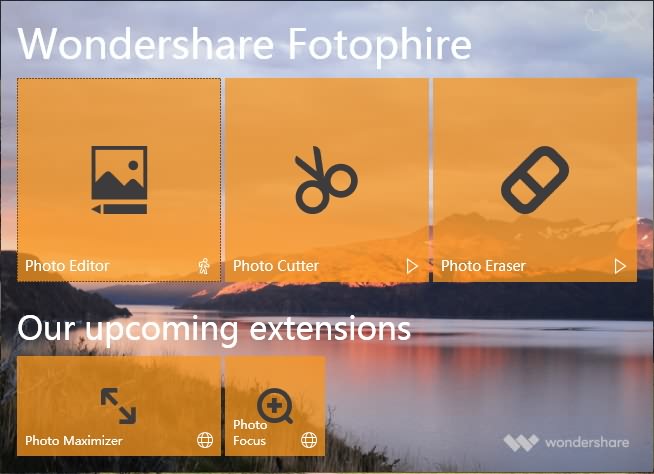
Fotophire Editing Toolkit
Your Complete Photo Editing Toolkit
Photographs printed on photo paper have a limited lifespan, and after several decades the colors on a photo start to fade, scratches appear on the surface of the pictures and the paper itself becomes distorted. Luckily the process of digitally restoring a photo is not complicated and if you'd like to preserve fond memories captured in old photos you can easily do so with photo editing software like Wondershare Fotophire.
In this tutorial, we are going to show you how to bring old photos back to life and we will take you through each step of the photo restoration process in order to help you keep your memories safe.
Before you can start restoring your photo you must digitize it first. In order to do so, you can either scan a photograph or you can use a DSLR camera that produces high-resolution digital images. If you choose to take a picture of your old photo, the camera will most likely automatically create a JPEG file, but if you scan a photo, make sure that the picture is saved in either JPEG or TIFF file format.
Double-click on the Fotophire's desktop icon and once the welcome screen appears, select to open the Photo Eraser mode, in order to begin restoring a photo. The software will ask you which picture you want to edit, so go ahead and click on the Open menu, and select the photo you digitized.
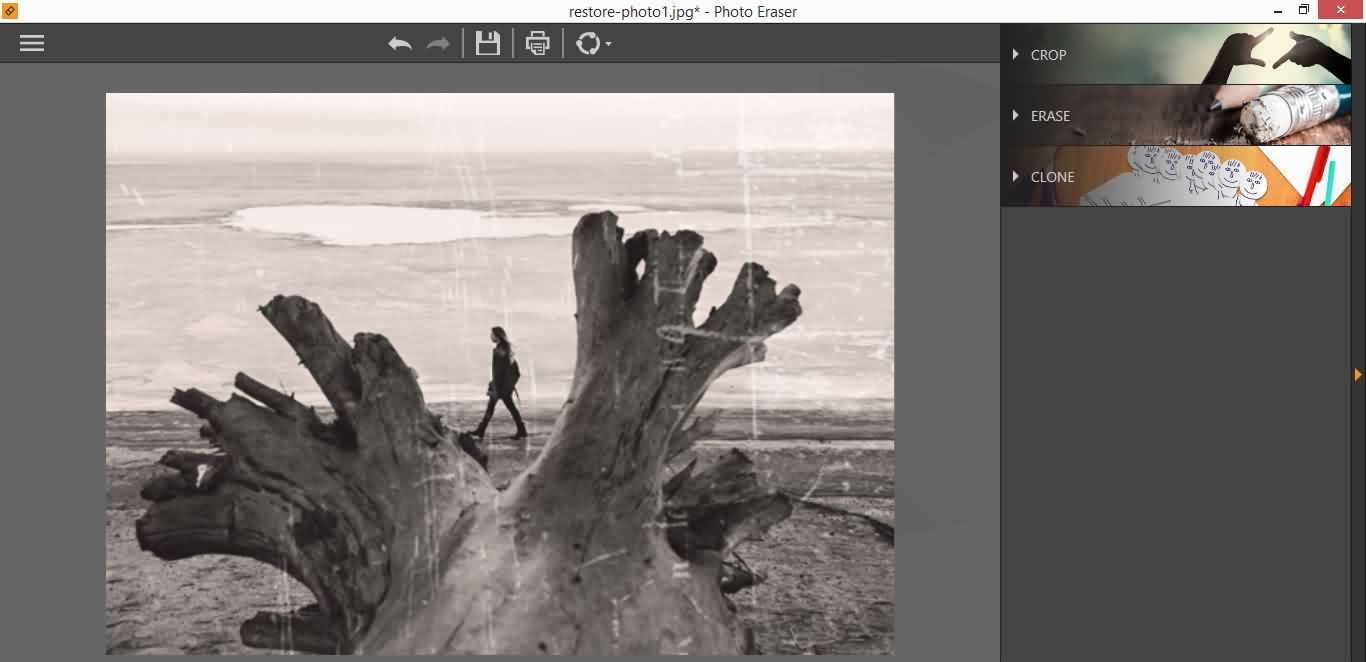
When the Erase mode opens, the picture you selected will be displayed on your screen. In the upper right corner of the screen, you'll find Crop, Erase and Clone tabs. Click on the Erase tab to access the tools you are going to need to remove the scratches from an old photo
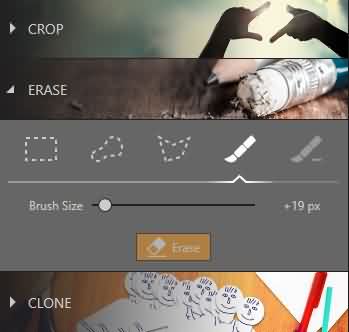
Which tool you are going to use, depends on which objects you want to erase from a photo, and you can choose between Selection Rectangle, Lasso Selection, Polygon Selection and Selection Brush options. For the purpose of this tutorial, we are going to use the Selection Brush because it is best suited for the task of removing scratches from old photos.
The Brush Size slider will enable you to adjust the size of the brush to the size of the areas on the photo you want to remove.
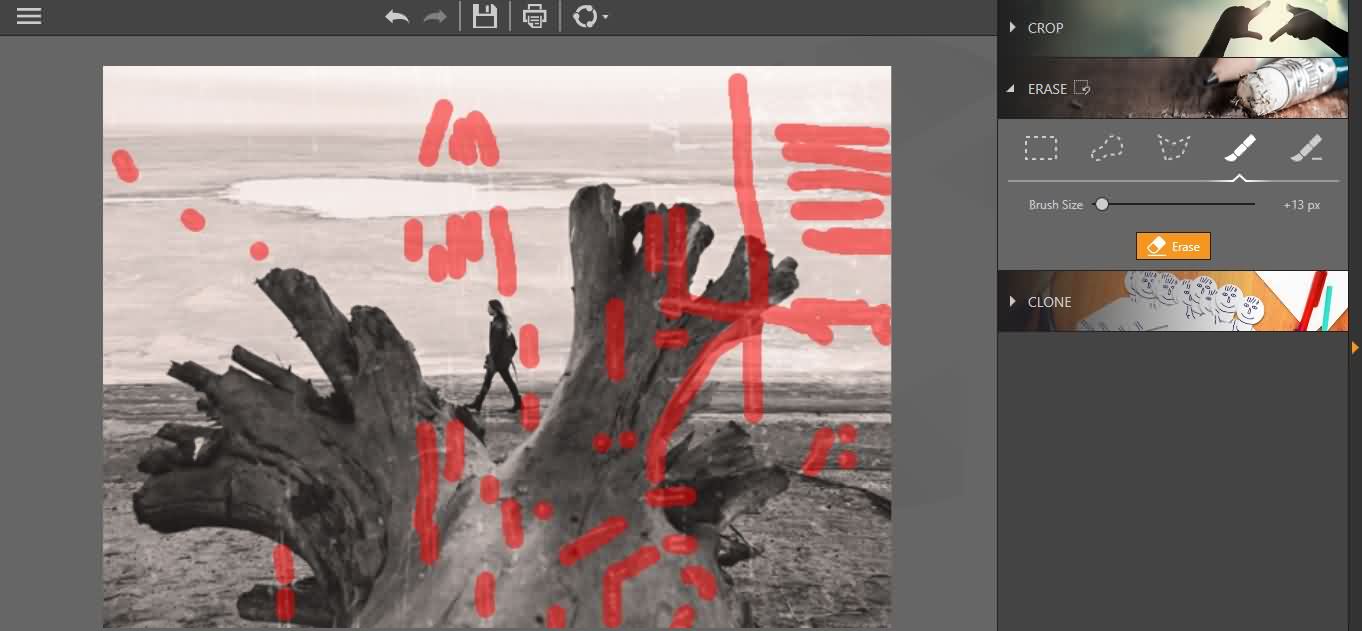
Simply drag the cursor over the areas of the picture you want to remove to mark them, and then click on the Erase button. You can repeat this process as many times as you want until you reach the result you are happy with. Click on the Clear Selection button located next to the Erase tab if you want to remove a selection you've made.
The Clone tool can be used if you want the changes you've made to the photo to be perfect. After you've completed the process of restoring an old photo, click on the Save icon, and after you've saved the picture, head over to Fotophire's Photo Editor mode to edit your photo further.
The Wondershare's photo editing software provides an impressive collection of filters, textures and color correction tools that can be used to make the colors in an old photo more vivid.

Conclusion
Fotophire offers a lot of tools that enable its users to restore old photos with ease. Furthermore, the software provides a lot of different ways to bring old images back to life, because the filters or color correction features can be used to make colors in old photos more vivid. The process of restoring an old photo is fun since it leaves so much room for improvisation and experimentation. Check the video below to get more information about Fotophire.

Click here to check more photo editors to restore old photos on Mac and Windows or more online tools to fix old photos .
