Fotophire Editing Toolkit
Your Complete Photo Editing Toolkit
Merging several photos into one picture may be simple for some people, but expressing ideas, feelings or thoughts through images you combined requires practice and a certain amount of visual literacy. Split Screen images, for example, can be used quite effectively to show the before and after comparisons, while adding an object or a figure to a new background is an easy way to create photos that tell your stories.

Having perfect facial expressions and poses in a single image is not easy, but Wondershare PixStudio may do you a favor. You are unable to combine two photos into a single image as you want, and the most important thing is that it is pretty easy to use.
Here, we are going to show you how to combine photos on windows easily using PixStudio online for free. With PixStudio, you can create stunning photos even if you were not a professional graphic designer.Step 1: Visit the website
Go to the official home page of the PixStudio and click on “Start Design Now”.

Step 2: Remove
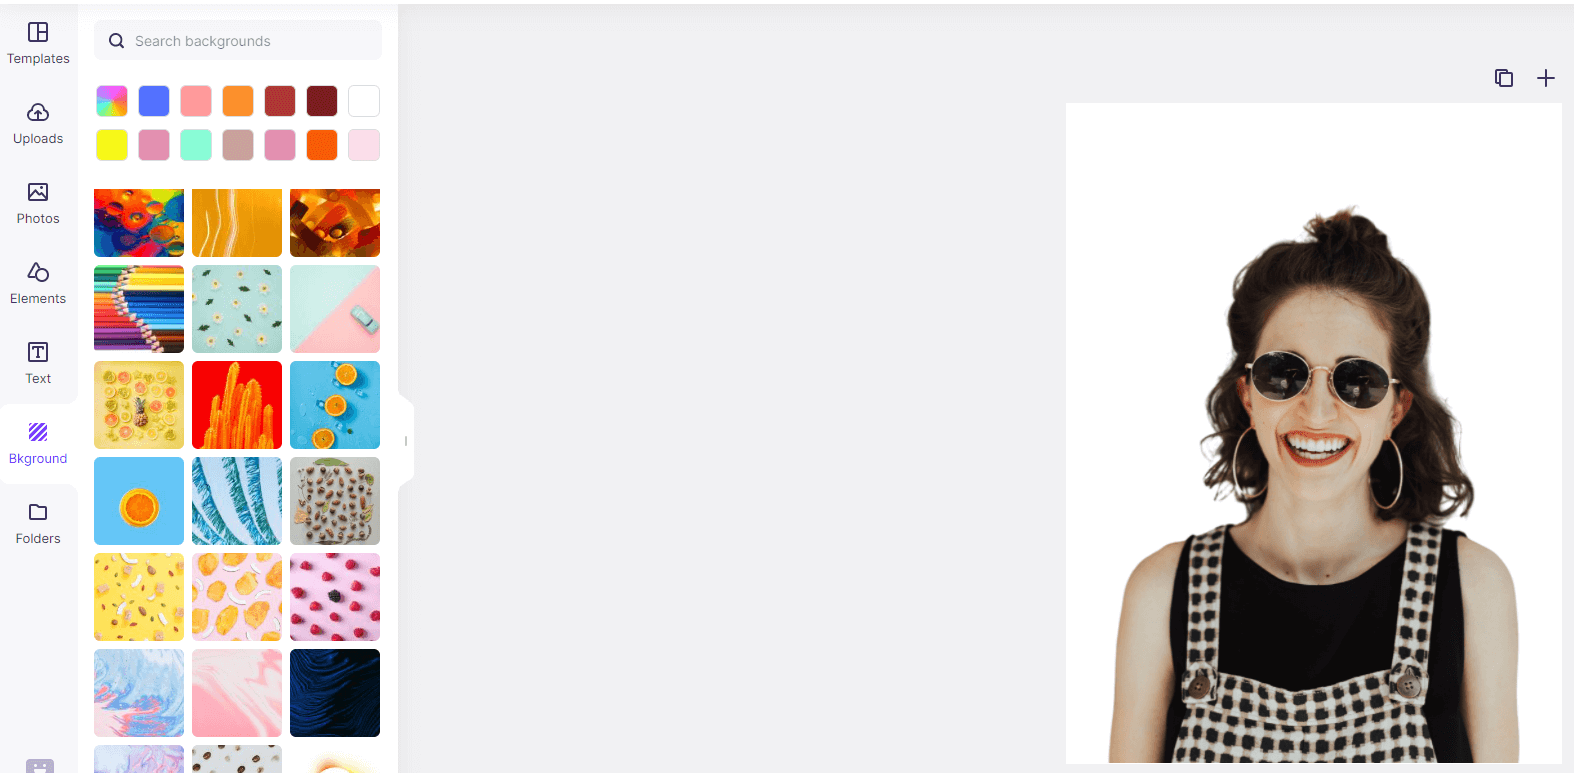
Choose the target design you would like to have. After you’ve uploaded the image, try to click “Remove Now” to remove the background.

Step 3: Combine
Click to “Background” on the left and you can change the background color or massive exquisite background at your will.

Step 4: Save
You can download the photo for free and get the resulting image.

Image manipulation is a skill that demands a lot of polishing, and you also have to master a photo editing software such as Photoshop. If however, you'd like to avoid a steep learning curve and still get amazing results we suggest using Fotophire. Here's how you can add objects and figures to new backgrounds in Wondershare's photo editing software.

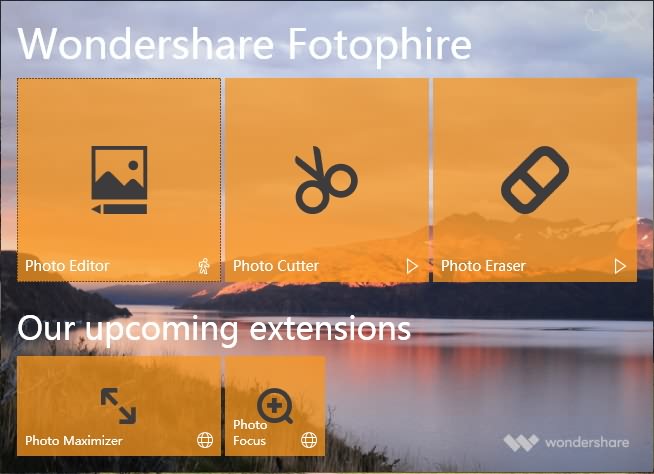
If you've already installed Fotophire on your computer, double-click on its desktop icon and once the welcome screen emerges on the screen select to open the Photo Cutter mode.

Import the photo you'd like to use as a foreground picture into the editor by clicking on the Open menu. After the picture is displayed in the Photo Cutter, proceed to click on the Cut-Out tab. You can either use the Paint Areas to Remove or Paint Areas to Keep tools to mark the parts of the photo you'd like to remove. Adjusting the Brush Size, Quality and Edge Blur sliders will help you get better results, and for that reason, you should try to find the values on each slider that best fit the photo you're editing.

All of the changes you make with the Cut-Out tools will be automatically applied, and after you've finished removing the background from the photo you intend on using as a foreground in your photo collage, click on the Photo Montage tab and select the background photo. You can either use one of the photos provided by the Fotophire or you can import your own photo by clicking on the Plus icon. After the background image is displayed you just need to find the perfect position for the foreground image, and click on the Save icon when ready. The Fotophire's Photo Editor mode can be used to make further adjustments to your photos.
After you combined the photos by Wondershare Fotophire Editing Toolkit, you could have a try of our other new product Fotophire Slideshow Maker. This tool could turn your collage photos into beautiful slideshow in seconds . You could customize your slideshow with templates and music Easily. What's more, you also could share it to social newwork website to let more people share your preciouse memory .

There's no need to use expensive photo editing software if you just want to create a split screen photo on your PC because Windows features the MS Paint software that provides the tools to accomplish this task in just a few simple steps. You don't have to worry about the size of the pictures you're combining because the software lets you use any photo in a commonly used file format regardless of its size.
Even though the photo selection may not seem very important, the images you are going to use to create a split-screen effect must have something in common if you'd like to create an image that actually communicates with the spectator. Click on the MS Paint's File menu and select just one out of two photos.
Chances are that the photos you want to combine differ in size, so before you start working with a second picture, adjust the size of the photo you've opened. Click on the Resize icon and after the Resize window pops up on the screen, select the Pixels option. Insert the new values into the Horizontal and Vertical boxes and make sure to check the Maintain Aspect Ratio checkbox.
In order to create space for the second photo, increase the size of the background by dragging the square box in the outward direction. Don't worry about how much space you've added because you can readjust the size of the canvas once you add the second photo.
Directly under the File menu, you'll be able to see the Paste icon, click on the drop-down menu located below the icon and select the Paste From option. The software will then offer you to select the picture you want to paste from your hard drive. After the photo appears on screen readjust its size and position to match the first picture and use the Rectangular Selection tool to remove the unwanted parts of the split-screen effect photo you just created.
Capturing perfect facial expressions and poses is difficult, but the Photo Gallery software enables its users to merge two or more images with similar backgrounds into a single image. The Photo Fuse tool is fun and easy to use and it will enable you to combine as many photos as you want. This tool functions best with photos that have identical backgrounds, and using images that have different backgrounds will produce poor results.
Open the Photo Gallery and locate the folder that contains photos you want to combine. Hold CTRL key to select multiple images and then click on the Photo Gallery's Create tab. Select the Photo Fuse feature and proceed to designate the area of the photo you want to replace. After you've highlighted the part of the picture you'd like to change, select the replacement, and the software will merge the photos together. Getting the perfect result may require practice so don't get discouraged if at first, you fail to create a picture you like.
The Photo Fuse tool lets you combine as many images as you want, but you need to make sure that each image you use has a matching background. Furthermore, Microsoft has announced on January 10. 2017 that Photo Gallery is no longer available for download. Even though combining photos with this software is a fast and simple process, you'll probably be better off using some more powerful photo editor.