Fotophire Editing Toolkit
Your Complete Photo Editing Toolkit
Photomontage is a photographic technique that dates back to the first half of the twentieth century. This technique is best described as merging parts of two or more photos into a single photographic image. In the past, this effect was achieved by literally cutting and gluing pieces of photos together, but in the age of digital photos and powerful photo editing software, photomontage can be easily created on a computer.
Since producing photomontages with professional photo editing software requires a significant amount of knowledge, our advice is to use Wondershare Fotophire that will enable you to create stunning photomontages even if you have very little experience with the image editing process.
Photography enthusiasts who are just discovering photographic means of expression will have a lot of fun creating photomontages with Fotophire because Wondersahre's photo editing software offers a lot of easy-to-use features that make the creation of photomontages quick and simple. Here's how you can make a photomontage on Windows with Fotophire.
Step 1
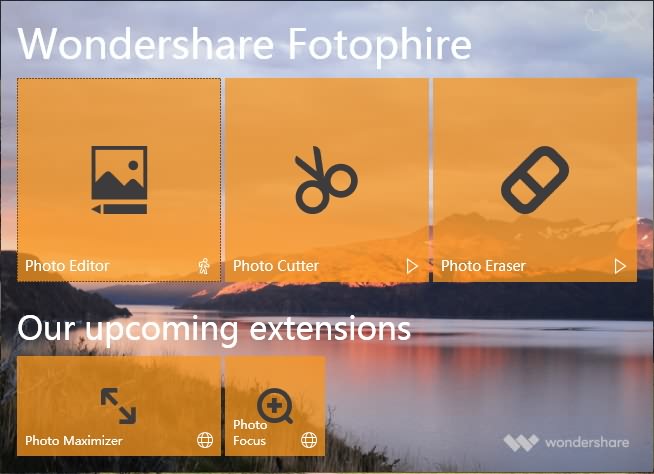
If you've already downloaded and installed Fotophire on your computer, click on its desktop icon, and once the welcome screen appears, select the Photo Cutter mode. You can access the Photo Cutter mode by clicking on the icon that looks like a pair of scissors.
Step 2
Before proceeding to start working on your photomontage, you first need to select a photo which you are going to use as a foreground picture. In order to import the photo into Fotophire's Photo Cutter, click on the Open menu and select the image from your hard drive. If you'd like to work with a photo you used earlier simply click on the Recent Files menu and select the picture you want.
Step 3

Once your photo is displayed in the Photo Cutter, you will be able to see Crop, Cut-Out and Photomontage menus on the right side of the screen. It is advisable to remove any unwanted objects in the photo before starting to remove the background because they might complicate the process.
Step 4

Removing a background from a photo with Fotophire is easy and fun since all you have to do is paint over the areas of the picture you want to keep and the software will automatically remove all other parts of the photo. Click on the Paint Areas to Keep button and drag the cursor over the parts of the photo you'd like to keep.

However, these areas need to be designated precisely, because otherwise the software won't remove parts of the background that aren't highlighted and for that reason, the final result may not look as visually attractive as you'd like. The Brush Size slider can be used to pick a perfect size of the brush so you can access the borders of the object better. Paint Areas to Remove option can be used to perfectly separate the object from the background, and if at any point you make a mistake you can click on the Erase Painting icon and delete the paint from your photo. The Edge Blur slider will allow you blur the edges of the object you've cut-out from the photo so the object can fit better on a new background.
Step 5

Click on the Photomontage menu after you've removed the background of your photo and select the new background. You can either use some of the stock images provided by the software or you can import your own background.

You can adjust the size of the foreground photo by dragging its sides, and you can also rotate the picture, flip it or turn it upside down. Click on the Save icon that looks like a floppy disk once you've found the perfect position for the object in the foreground of your photomontage. Alternatively, you can export your photomontage to Facebook directly from the software.
Step 6
If you would like to add further adjustments to your photo montage you can open the Photo Editor mode. Fotophire's Photo Editor can be used to enhance your newly created montage, by adjusting saturation, brightness, contrast or applying photo filters. Wondershare's photo editing software will enable you to experiment as much as you want, and once you are happy with the results you've achieved just save the photo once more.

Special Note:After you made the photo montage, you photos may seems cool. If you want to keep your these cool montage photos into impressive memories, then you could try a newly released product Fotophire Slideshow Maker, there are dozens of templates for your reference . Besides , it also allows you add music or other effects to the photo slideshow , come to have a try of it !