How to Add Awesome Frame Effects to Photos
A frame separates an image from its surroundings and as a result, it highlights the figures and objects captured in a photo. What's more, it is hard to think of a sort of an image that doesn't look better with a frame. Most photos that can be seen online don't have a frame, and for that reason, they sometimes fail to stand out from a crowd and attract attention.
Photographers of all levels of experience can use Fotophire to add frames to their photos and in this article, we will take you through this straightforward process step by step.
Why Choose Wondershare Fotophire to Add Frame Effects to Photos?
The Wondershare's photo editing software features a rich library of preset frames that can be applied directly to a photo, with a single click. Photographers that want to prepare an online presentation of their work can use these frame presets to recreate the look a photo will have when framed and hanged on the wall. On the other hand, photo enthusiasts can use frames to enhance their photos and to produce a certain style of the photographic image.
Besides having an aesthetic value, frames can also play a very practical role during the process of editing a photo. Some of the frames preset offered by Fotophire, cover parts of the photo, which means that they can be used to conceal unwanted objects or figures in a picture. Using a frame to hide parts of the photo can be quite useful if cropping a photo isn't really an option because it would remove something you want to keep in a photo.
The Frame feature is accompanied by a plethora of superb photo editing options that allow Fotophire's users to manipulate their photos in any way they want. Removing background, erasing parts of an image, or over 200 photo filters, all suggest that you can hardly make a mistake if you choose to edit your photos with Fotophire.
How to Add Frames to Photos with Fotophire?
Step 1 Open Your Image

Double click on the Wondershare Fotophire desktop icon to open the software, and then click on the Photo Editor icon to launch the program's editor. Afterwards, click on the Open icon to import the picture you want to edit in the Photo Editor. You can also right click the image and then select to open with Photo Editor.
Step 2 Add Frames

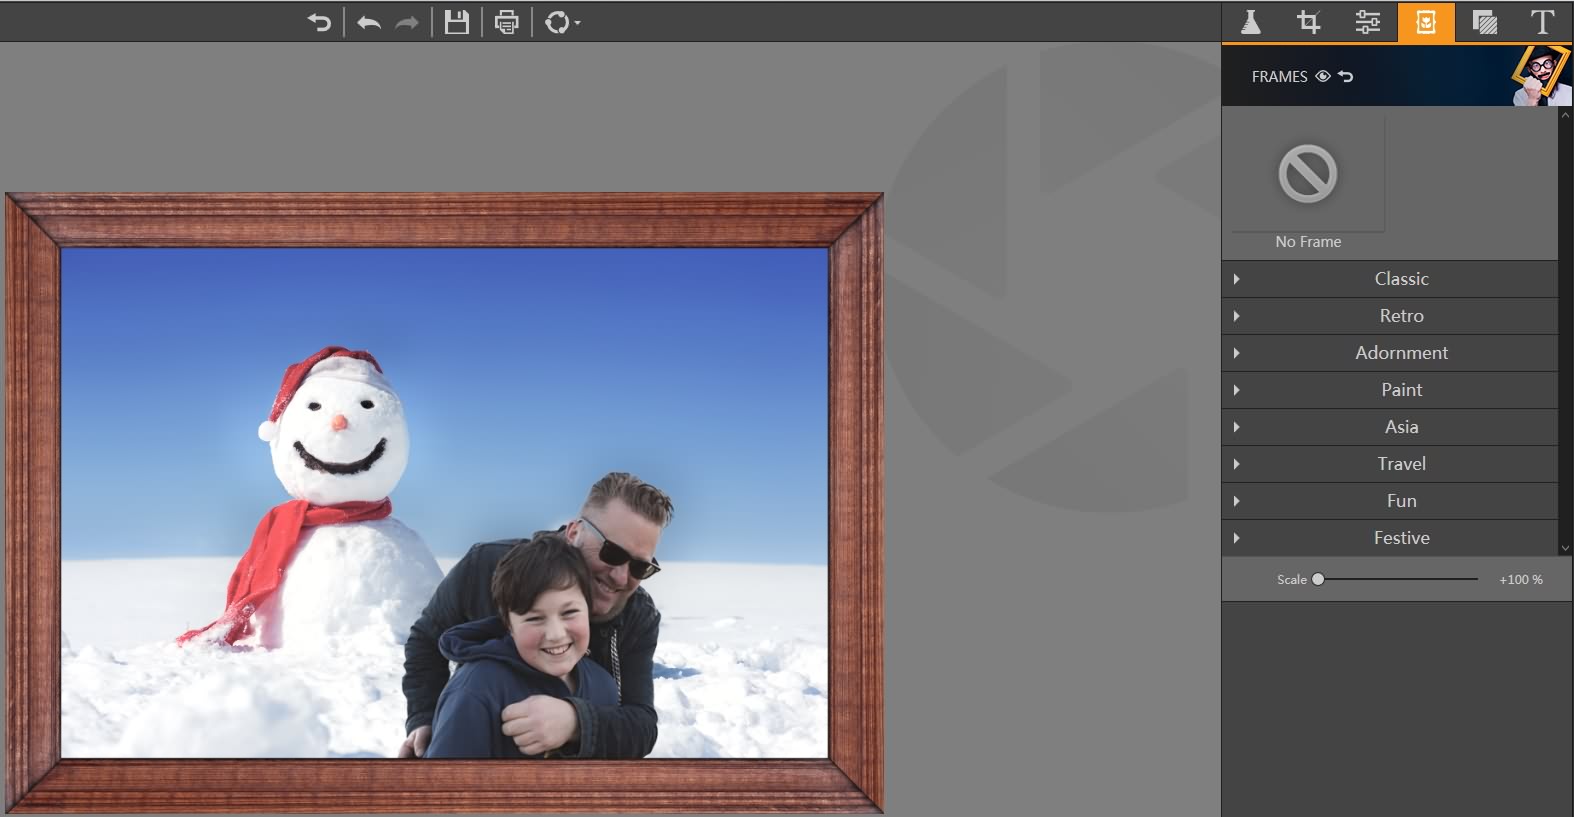
Once your photo is displayed in the editor, click on the Frames icon which is located on the upper right corner of your screen. This action will allow you to see different types of frames Fotophire offers, and you can choose Classic, Retro or Festive categories, to mention just a few.

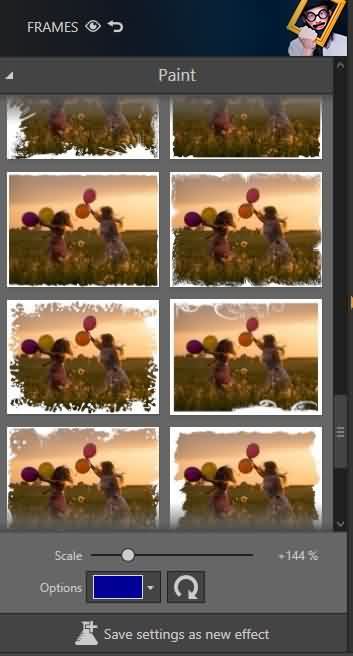
Pick a category and then select a particular frame you'd like to apply to your photo. Scale slider can be used to adjust the size of the frame, while you can also select a color on some of the frames.
Click on the Save Settings as a New Effect button at the bottom of the screen if you want to use the frame you created more than once.
Step 3 Enhance with More Effects
Head back to the Effects or Adjustments menu if you would like to alter the color values on a photo or to apply some more effects. Once you are perfectly happy with the visual style of the photo you created, click on the Save icon, or alternatively share your photo on Facebook directly from Fotophire.

Photography should be fun and Fotophire is one of the best photo editing programs you can use if you want to freely experiment with different visual styles of your photos. Let us know which Frame preset you like the most in the comments and hit share to tell your friend about this entertaining and simple way of adding frames to photos.
Extra Bonus: After adding the frams to the photos , your these photos looks very tridimensional . If you wan to keep all these framed photos into vivid slideshow, here we recommend our another newly released product Fotophire Slideshow Maker to you . You could customize your slideshow with fanstic templates and wondersul music easily. Besides, this program also supports some editing function which could make your personal slideshow more meaningful . Come to try it with surprice !
- Personalize your slideshow with more than 180 templates
- Add 75 built-in tracks or choose music from your local computer to your slideshow
- Save or share your slideshow to social network in one click
- 3 super easy steps to make a slideshow with photos or videos


