Fotophire Editing Toolkit
Your Complete Photo Editing Toolkit
Since the invention of the digital camera, the double exposure effect hasn't been so frequently used in popular culture, but its history is as long as the history of photography. In this tutorial, we will show you how you can easily create amazing double exposure pictures.
The term double exposure got its name from a common 'mistake' on analog cameras, that would occur when the same piece of film would be exposed to light more than once. The resulting image is composed of two overlapping images in a single frame that looks like an abstract image. Some of the greatest photographers in history, such as Man Ray frequently used this photographic technique to create pictures that had high artistic value.
Although these kinds of images can hardly be seen outside of museums and galleries, there are a number of practical things you can achieve by utilizing the double exposure effect. Most importantly double exposure photos have an artistic aura around them, so if you want to be perceived an admirer of art on social media, creating these type of pictures can be quite helpful. Furthermore, if you carefully choose which images you are going to combine you can create powerful statements that grab the viewer's attention and convey messages you find important. If done masterfully double exposure photos can be used in marketing campaigns and for a great deal of other commercial purposes.
Fotophire is one of the best photo editing programs for Windows and Mac you can use to create double exposure photos in just a few simple steps.
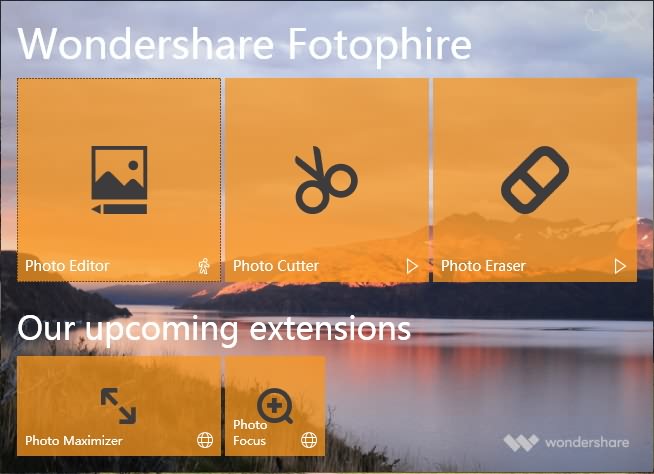
If you've already installed Fotphire on your computer, double-click on its desktop icon to start the process of creating a double exposure photo. You can click on the Photo Editor icon if you want to apply the double exposure effect directly to an image, or you can open the Photo Cutter mode if you would like to remove the background of a photo or create a collage.
Choosing the right photo is essential for creating a well-balanced and well composed double exposure photo. In order to import the picture you want to edit with Wondershare's photo editing software, you need to go the File menu and click on the Open option. You don't need to import more than one photo since the photo editor provides preset effects that create the double exposure effect.

Click on the Textures icon that is located on the photo editor's toolbar to gain access to different types of textures the software offers.
Locate the Double Exposure tab and click on it to see all the different kinds of double exposure effects that are provided by the photo editor.
In order to apply the effect, you just need to click on one of the provided options and the effect will be automatically added to your photo. Try out several different options to get the best result.

After you've applied the effect you can adjust the Opacity slider if you would like to make the effect more transparent or you can select a Blend Mode that will make the colors more vibrant.
Don't forget to click on the Extend to image size checkbox that allows you to apply the effect over an entire surface of the photo. If you like the effect you've created click on the Save Settings as new effect to ensure that you can use it as many times as you want.
Additionally, you can edit your photos by switching over to the Adjustments menu where you can increase the clarity of the picture or fine-tune the color balance. If you are happy with the results you've achieved click on the Save icon located at the top of your screen or share the photo directly to Facebook.
Find best online tools to create double exposure effects
