Fotophire Editing Toolkit
Your Complete Photo Editing Toolkit
If you’re familiar with social media apps, then you’re probably familiar with this kind of effect. Clarendon Filter is one of the popular effects! It’s very specific to the social media app, which looks more natural than most filters. It just adds a little bit of liveliness and sharpness to your image! Want to learn how to add Clarendon Filters to your Photos with other programs? Then continue reading! We’ll teach you all the different ways that you can replicate this look down below!
The first method that we’re going to introduce is the easiest one! That is Wondershare Fotophire Editing Toolkit method! The Fotophire Editor offers a large archive of filters and effects, some of which look like the Clarendon Effect! You’ll see what we mean in the tutorial down below.
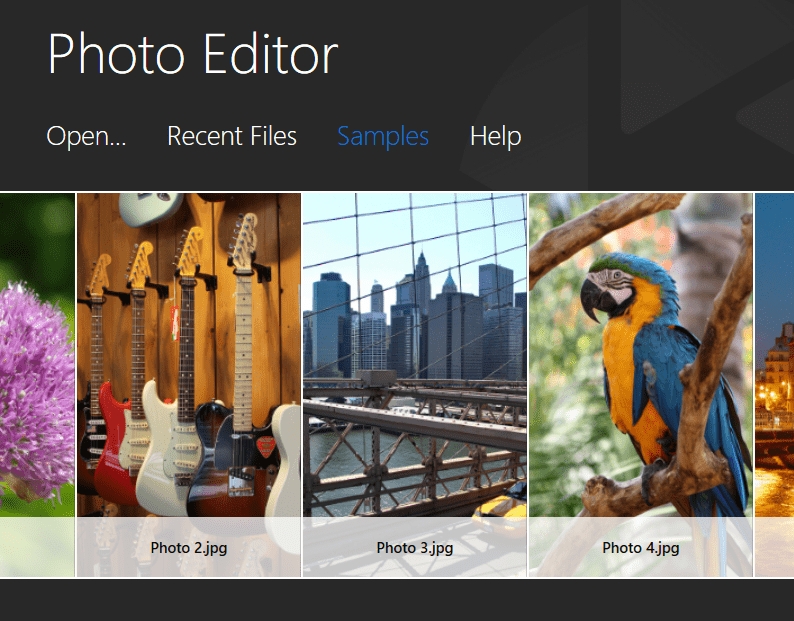
First launch the Fotophire Photo Editor. You can do this by clicking on the box furthest to the left — marked Photo Editor. Download the FREE trial for Fotophire through this link: https://photo.wondershare.com

Next, let’s import the image that we want to add the Clarendon Filter to! In order to do this, click the white Open… text furthest to the left! This will prompt a windows popup where you can choose the image that you want to edit.
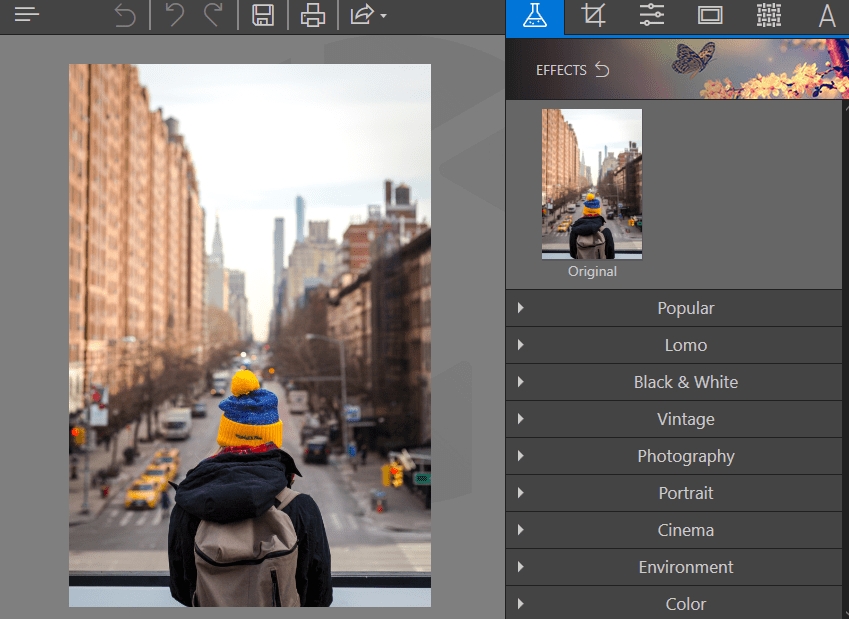
The tab that we’re going to be using, is the Effects tab. This is where you can find all of Fotophire’s filters! Including the ones that are the most like the Clarendon Filter!
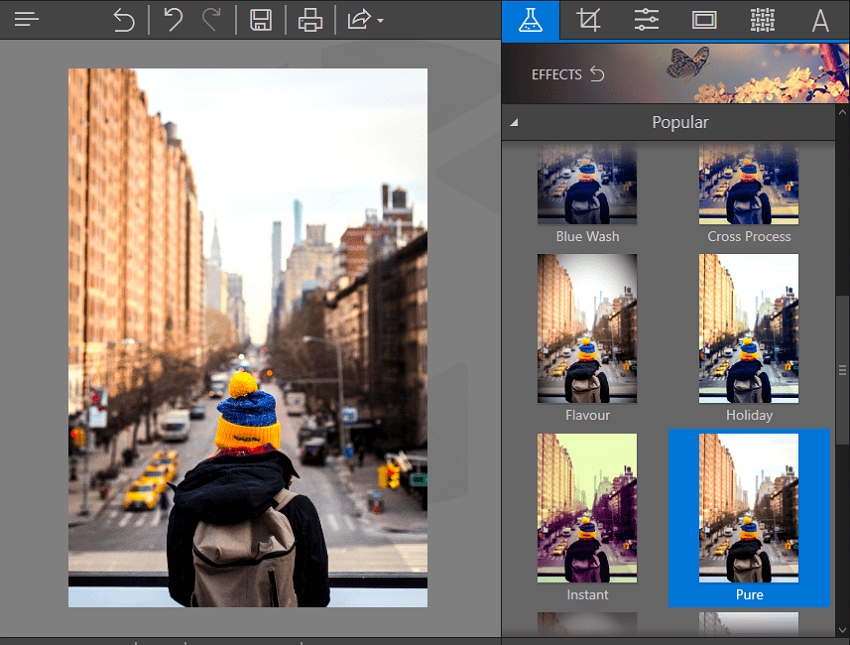
You can browse the different filters they have available, but the one the most like the Clarendon filter, is the Pure filter that they have under the Popular tab. It saturates the image (just right) and makes it a lot more vivid, just like the original Clarendon!
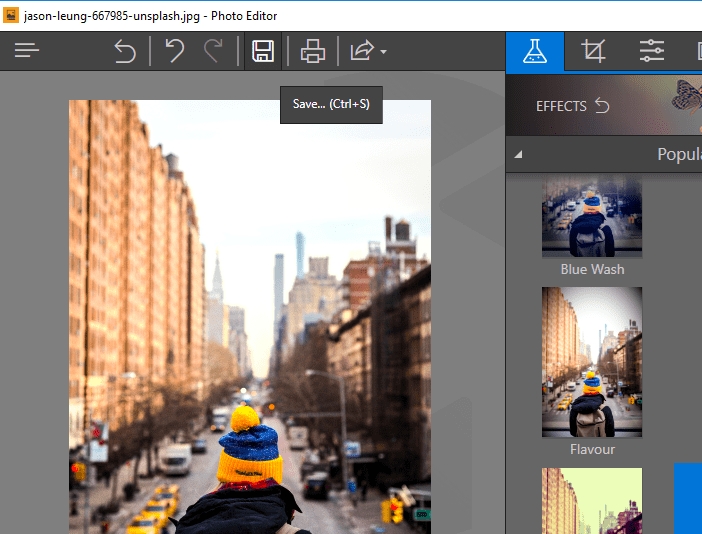
You can play around with the final image as much as you want, but remember to save before closing the window! This can be done by clicking on the Save icon on the top toolbar!
Next up, we’re going to be teaching you how to add Clarendon Effects using Photoshop! This one is going to be a little more complicated than the previous one, so bear with me! We did our best to condense as much of the information as we can! However, Photoshop is generally pretty complicated when it comes to things like this, so it’s no surprise.
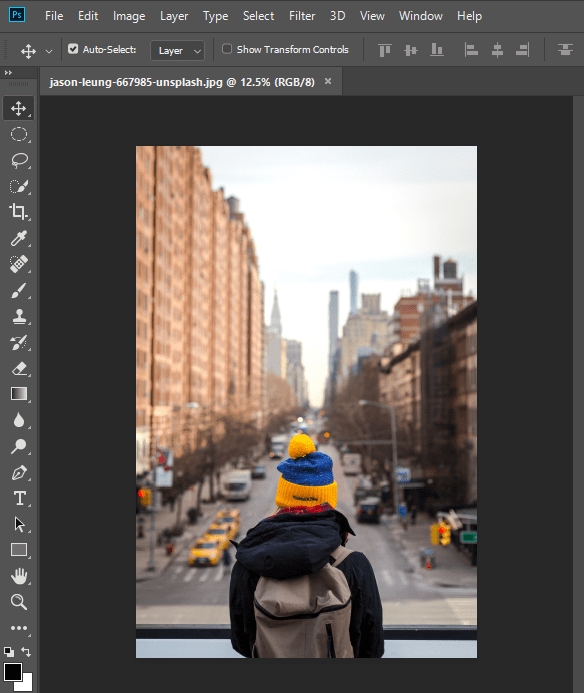
The first step is importing the image into editor! Doing this is easy, just clicking on the Open… text button, and choosing the image that you want to edit in the Windows popup.

This is the image that we decided to go with (the same one that we used in the previous tutorial.) Pay close attention to it, as this is what we’re going to be changing in the near future!
The biggest downside about this process is the lack of preset filters. That means, you’re going to have to get your own filters! You can do this a couple of different ways.
The filter effect that we’re going to be using here is one from Blacklacestock’s art blog! Click on the link provided to download this filter!
URL:https://blacklacestock.deviantart.com/art/Hard-Lomo-Action-189163317

Before you can use whatever filter you downloaded, you’re going to have to import it into the Photoshop directory first! This process can get a bit complicated, so have a little patience! First, click on the Edit tab > Presets > Export / Import Presets…!

Doing the previous step will bring you to this screen (refer to the image below.) Now, follow the following steps!

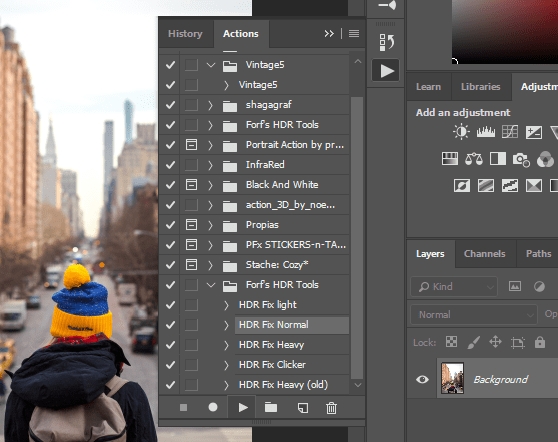
The next part will require you to activate your Actions module. Which will look a little like this (refer to the image below.)

After that, click on the “=” button on the top right-hand corner of the module, and click on the Load Actions… option. This will allow you to choose your filter out of the Photoshop directory!

To apply the filter, all you have to do is highlight the action with a click and then press the “play” button on the bottom of the Action module! This will apply the actions automatically (much like a regular filter.)
The effects of this filter are a little lighter, but you can still see the slight increase in saturation and even the sharpness, that this filter brings!
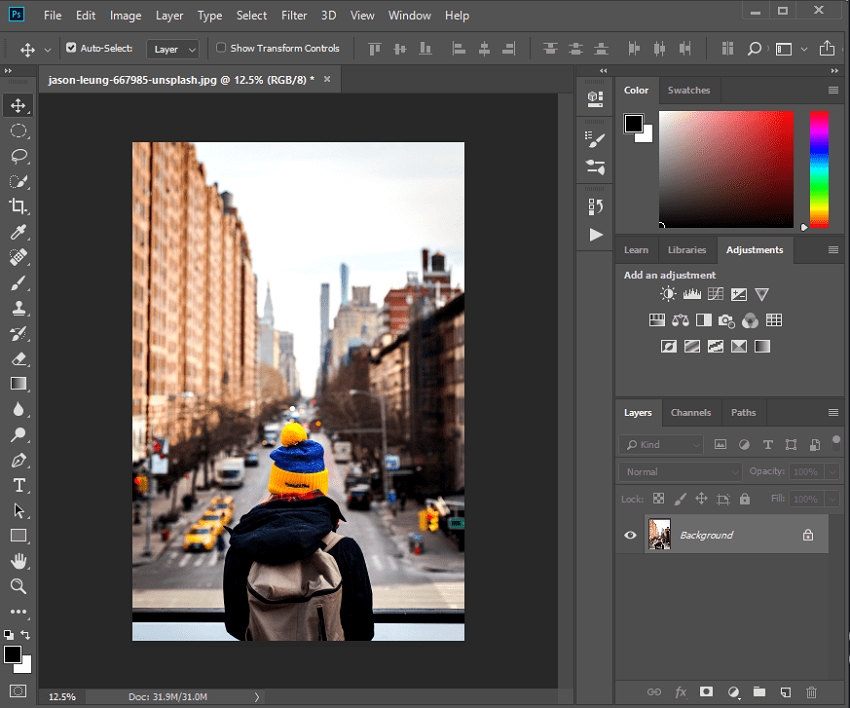
Feel free to edit the image as much as you’d like after. but remember, don’t forget to Save before exiting the window. You can do this by clicking on the Save As… option inside of the File tab.

As an added bonus, let’s go through a quick Mac alternative! This one is called Movavi, and it’s available for Mac devices with a one-time payment (or annual payment.) Either way, it offers preset filters (like the Fotophire Photo Editor), which makes it a lot easier to use than Photoshop.
When downloading the Movavi editor, make sure that you’re downloading the Mac version! This can be done directly from their website — where they offer a FREE trial. Click the URL down below to access to their website.
URL:https://movavi.com/mac-photo-editor/

Next, it’s time to import the image into the program. Doing this is easy enough. Movavi makes this even easier by giving you the option to Drag and Drop images. Of course, you can go old school as well, by clicking on the Browse for Images option.

The tab to focus on, is the Effects tab (highlighted green down below.) This is where you can find all the cool filter presets that the Movavi editor offers!

The one that we decided to go with, is the “El Greco” filter — which looked the closest to the classic Clarendon. However, you can definitely try out their other filters, to see which one you’d like.

Much like the previous tutorials, don’t forget to Save before leaving the window. To do this, just click on the Save button — which can be found on the bottom right-hand corner of the screen!

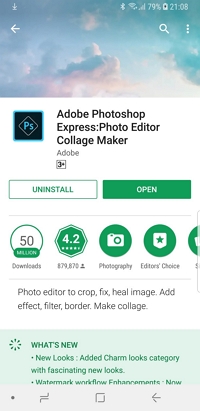
The last program that we’re going to be introducing you to is the mobile Photoshop application. Fortunately, unlike the original Photoshop, this does come with quite a few preset filters. These include ones that are a lot like the Clarendon Photo Effects! Let’s learn how to use it together!
First, download the app. This is easily enough done. The application is available for both iOS and Android devices, just type down it’s name on the google or play store.
Or, click the URL below.
URL: https://itunes.apple.com/us/app/adobe-photoshop-express/id331975235?mt=8
The filter that we found most like the Clarendon is the Vivid Filter. This can be applied with just a single click, and you also adjust the application thereof with a slider that can be adjusted.

And… that’s really all there is to it! Click on the Share icon on the top right-hand corner of the screen to save your progress!

Today, we introduced you to quite a few alternative programs that you can use to add Clarendon like filters to your photos. Now, if you want our personal recommendation, then we’d suggest that you try out the Fotophire Editing Toolkit first! This will allow to add filters with ease and remains one of the most intuitive options out there!
