Fotophire Maximizer
Enlarge your photo by 1000% without losing quality
Nobody likes poor picture quality, and even the people who know next to nothing about pixels can see when a photo is pixilated. Increasing the size of a digital image has never been a complex process, but it requires you to have a basic understanding of the concepts of image resolution and size. Enlarging an image can help you make entire photos from details depicted in another photo, and you can also use this option if you want to prepare your photo for printing.
Nearly all photo editing software, you can find on the market today, provides at least a few options that enable you to increase the size of a picture. In this article we are going to take a look at how you can enlarge pictures in several different ways, using powerful photo editing software.
This is the best online platform that I've ever used, most of the online platforms may have the problems like getting blur after an image enlarged, but you do not need to worry about that with using PixCut. The important point that I want to introduce that platform is that it is a beginner-friendly toolkit which much easier to use, with just a few clicks, then you could get the resulting enlarged photo easily and immediately.
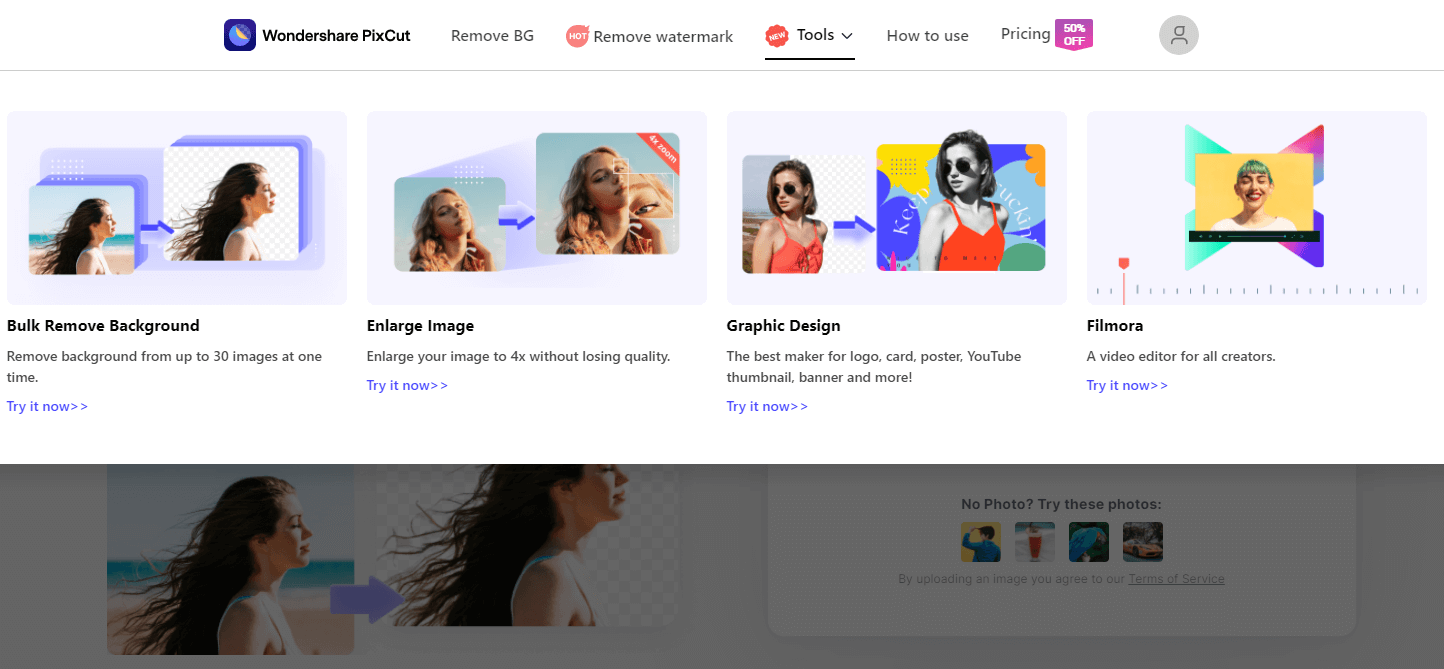
Next, we are going to show you how to enlarge the image without losing quality easily using Wondershare PixCut.
Step 1: Go to the official home page of the PixCut choose “Tools” and click on Enlarge Image.
Step 2: Upload the picture that you want to make it to a higher resolution.
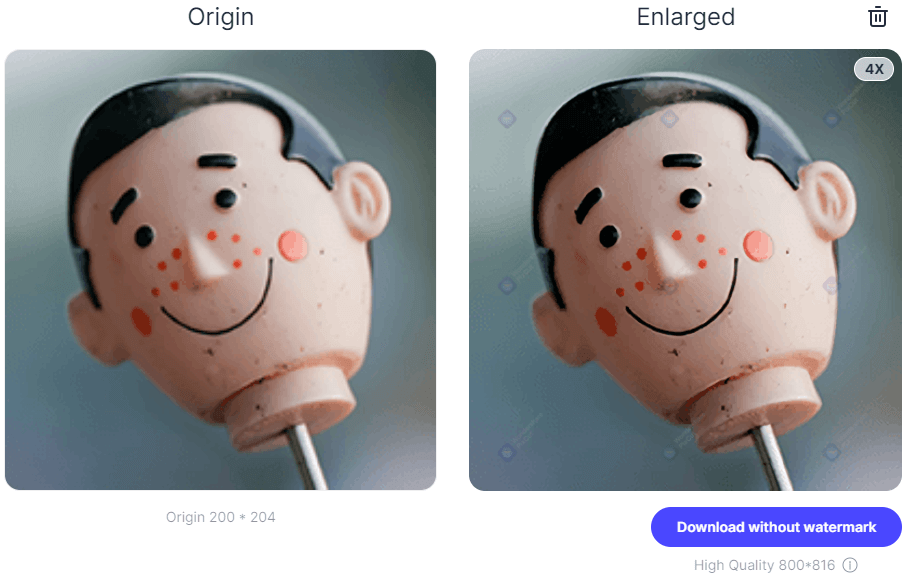
Step 3: As soon as uploading is finished, PixCut will automatically enlarge the image without losing quality. Now, all that’s needed is to download the resulting image.

The fact of the matter is, that every time you increase the size of a photo, you will lose a certain portion of its quality. However, the photo editing software featured below, minimize the amount of image quality lost in the process of enlarging an image.
Blurry, pixelated photos are often the result of trying to enlarge a low-quality picture, but if you opt to use InPixio Maximizer software, developed by Avanquest, you won't have to worry about the photo enlargement process ever again.
The photo editor is equipped with several built-in formulas that will enable you to enlarge photos in a professional manner. Each formula is fully customizable, so if you, for example, select the Bilinear formula you'll be able to tweak it further until you are perfectly happy with the results you can see on your screen. The Crop tool will enable you to select a detail in the photo and enlarge it afterward using some of the editor's preset photo magnification tools.
Enlarging a photo with InPixio Maximizer is a fast and simple process that only requires you to import the photo into the editor, select the new preset size and resolution of the picture and the software will show you the before and after photos. Users of the Avanquest's photo enlargement software can also customize the settings manually, which gives them more room to enlarge their pictures in the exact way they want.
Photo Maximizer isn't just a simple photo enlargement tool since it provides numerous other options such as batch processing or different zoom setting that let you enlarge a photo up to 1000%.
Besides Fotophire Maximizer, Fotophire also offers a great slideshow maker program to help you make a photo & video slideshow with 3 simple steps. The program is very easy to use and it has a simplified user interface which is friendly to even greenhands.
BenVista's PhotoZoom Classic and PhotoZoom Pro software offer numerous professional photo enlargement tools. The Pro version of the software is aimed at photographers and image makers who use the advanced photo gear in need of an editor that enables them to easily increase the size of their pictures. The Classic version of the editor is better suited for entry-level photographers who need a simple and efficient way to enlarge pictures.
Both programs use the S-Spline technology developed by the software's manufacturer that preserves the quality of the processed pictures. All you have to do to enlarge a photo is import a digital image into the editor, choose one of the preset picture sizes and save the new larger version of the photo. Crop option can come in handy if you want to use only a small part of the photo. The feature lets you create better portraits or product shots because it lets you put the focus on the subject of the photo. Once you've cropped the photo, choose an appropriate preset photo size to make the photo larger.
The PhotoZoom software also allows its users to set the new size of their photo manually, which means you can decide for yourself how big your photos should be. Furthermore, you can compare the original photo with the larger version and see if the picture is pixelated before you save its new version.
These specialized photo enlargement programs can easily improve the quality of low and high-resolution images, that can be used for a wide array of purposes.
Get 50% OFF Discount for Photozoom Pro7 Mac & WinAdobe's software offers tools that enable their users to perform all image editing actions, which is why it comes as no surprise that Adobe Photoshop is one of the best software you can use to enlarge a photo. Changing the size of a photo is incredibly simple, because all you have to do, is click on the Image menu, and select the Image Size option. The Image Size window lets you increase or decrease the Pixel Dimensions and Document Size options.
Simply insert the Width and Height values into the boxes to enlarge a photo. Make sure to click on the Constrain Proportions button, in order to preserve the aspect ratio of the original image after you change the number of pixels or the size of the document. At the bottom of the Image Size window, you'll be able to see a drop-down menu that lets you choose between Bicubic, Bilinear or Nearest Neighbor image resizing options.
This method is perhaps the standard way of increasing the size of a photo in Photoshop, but it isn't the only one. A plugin like Perfect Resize allows you to have even more control over the image resizing process since it offers features such as Sharpening or Film Grain that produce sharper and more natural enlarged images.
If you decided to install the Perfect Resize plugin in your Photoshop, click on the File menu, and go to the Automate drop-down menu. Find the Perfect Resize option and click on it, so you can launch the plugin. You can change the size of the document or increase the number of pixels in the photo, and you can remove noise that occurs if you enlarge a photo too much, by using the Sharpening tools. Hit apply when you finish the process of making your photo larger and click on the Save As button to export the photo from the Adobe's photo editor.
Check out some of the best PhotoShop Alternatives